In my prototype design class, we make many projects using tools including X-acto knives, hot glue guns, and computers. On this page, you can check out all of the projects I have done throughout the year.
PROTOTYPE DESIGN
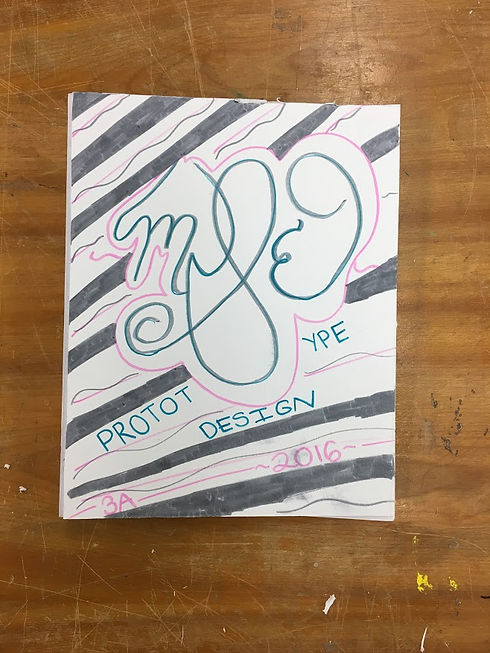


logbook
Foamboard binder
Foamboard letter
The first project I completed in class was my logbook. We use these to log our projects and daily work in the class. To create this, we used a binding machine, two blue pieces of paper to act as the back and front cover and sheets of paper with the dates filled in so we can log our daily work. On mine, I drew swirls on the bottom and put my name and the "Prototype Design" text in blue, pink, and purple because those are my favorite colors. I also drew the three monkey emoji because they're my favorite.
I created my foam board binder by using a piece of foam poster board, an x-acto knife, a pencil, and a ruler. I cut the foam board into a binder shape and used the knife to make the bends and cut it to scale. Next, I used markers to decorate it.
I created my foam board letter using the same materials I used for the binder along with a hot glue gun. First, I traced a 2-D "M" on a rectangular piece of foam board. Then, I cut 1 inch strips to glue to the sides of my letter to make it 3 dimensional. I used the hot glue gun to glue the strips to my 2-D letter.
I created my marble mover using the following materials:
- Poster board
- X-acto Knife
- Construction Paper
- Chopsticks
- Nails
- Markers and Colored Pencils
My marble mover consists of a series of ramps moving the marble back and forth down the propped-up poster board. After the marble was moved through the series of ramps, it drops onto a piece of poster board that's hold up by a chopstick and tape. I taped smaller strips of cardboard down to maneuver the marble to the hole at the end. Below the hole in the poster board I placed a funnel for the marble to spin down. Once the marble makes it to the end of the funnel, it drops down to a poster board ramp with little strips of poster board staggered throughout to slow down the marble. At the end of the ramp, the marble ends up in the cup. My Marble Mover came to a total time of about 15 seconds.

marble mover


Rubber band Racer
My rubber band racer was made using poster board, CD disks, construction paper, paint, tape, a rubber band, and wooden sticks. I tried to make mine look like a Mario Kart, but it doesn't really look to great. I have two disks on the back axle glued to a wooden stick that is secured by two straws on the chassis and two small pieces of poster board on the wheel. I constructed the chassis in a triangular shape and added tape onto the tip of the car to add traction because there are no wheels in the front. On the two wheels in the back, I spread hot glue on the rims of the disks for traction. I put the rubber band on the bottom of the chassis and locked it in with a strip of poster board. For decoration, I painted the car with blue, yellow, and red paint to make it look more like the Mario Kart I was attempting to build before. Though the car would not move at first, with belief and a tiny push my car ended up going a lengthy 103 inches!

 |  |  |
|---|---|---|
 |  |
Photoshop projects
Using Photoshop, I made five pieces of digital artwork. My first two were jump-outs. Using tools like cloning and distorting with perspective I was able to make the jump-out optical illusion. With these tools I made one of a clown fish and one with a scuba diver. The next three are pictures with me. My stalker Photoshop is the picture of me on a pool float in a background of a scene from The Bachelor. My encounter with a famous person is the picture of me with Ken Bone. Lastly, the picture of me standing in the water is a Photo-shopped picture of me in a scene from The Notebook. I've learned that Photoshop is harder than it looks from this project. I believe the hardest part of Photoshop is adjusting the lighting so your picture looks more realistic.
Mara, Abby, and I decided to take on the art of origami. With the help of YouTube we created many pieces with construction paper. As shown below, I made a diamond, a fortune teller, and a Masu box.
Origami


